From HRC to HV: How to Convert and Interpret Hardness Values in Chromium Carbide Overlay Plates
When it comes to evaluating the performance of a chromium carbide overlay wear plate, hardness is one of the most critical indicators. Yet across global markets, different testing methods and measurement units often cause confusion among buyers, engineers, and project managers. Understanding the difference between HRC (Rockwell hardness) and HV (Vickers hardness), and how to interpret these values, can significantly impact your material selection, price negotiation, and wear performance expectations.
Why Do Customers Care About Hardness Conversion?
Different industries and regions favor different hardness units. For example:
American and European buyers often request Rockwell C (HRC) values.
Asian and technical institutes may prefer Vickers (HV) data, especially for microscopic evaluations.
As a global supplier of hardfacing wear plates, Wodon frequently receives questions like:
“If the CCO wear plate is rated at 60 HRC, what is the corresponding Vickers hardness?”
Answering this requires more than just a calculator—it requires understanding the differences in testing principles and material structures.
Understanding HRC and HV: Testing Methods Explained
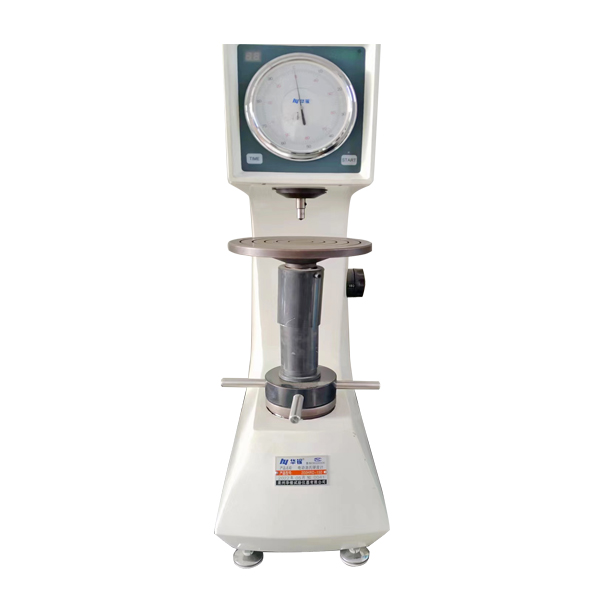
1. Rockwell C Hardness (HRC)
Measures the depth of indentation caused by a diamond cone under a main load.
Fast and practical for macroscopic hardness evaluation, especially for steel products.
Common in production-line testing of wear plate surfaces.
2. Vickers Hardness (HV)
Uses a diamond pyramidal indenter under smaller loads.
Measures the diagonal length of the indentation via optical analysis.
Ideal for examining micro-regions, especially the hardfacing layer or individual chromium carbide particles.
While both are valid, they serve different purposes: HRC reflects the general surface hardness, while HV can give insights into microhardness and carbide quality.
HRC to HV: Typical Conversion Ranges for Chromium Carbide Overlay Wear Plates
Here’s a simplified conversion table based on testing data from composite wear plates:
| HRC | Approx. HV | Application Reference |
| 55 | ~540 | Light to moderate abrasive wear |
| 58 | ~580 | Standard mining or cement industries |
| 60 | ~620 | High-performance applications |
| 63 | 660–680 | Severe abrasion or impact + wear |
⚠ Note: These values are approximate. Direct one-to-one conversion is not precise due to differences in testing methods and layered material structure.
Why Can’t We Convert HRC to HV Exactly?
There are several key reasons:
Different Test Mechanics
HRC uses depth measurement; HV relies on optical diagonals.
Indenter shapes, load types, and test area coverage differ.
Material Structure Matters
A bimetallic wear plate contains hard chromium carbide particles embedded in mild steel.
Hardness can vary significantly between the surface, subsurface, and base material.
Manufacturer Variations
Different alloy compositions, welding procedures, and heat treatments influence test results.
Even within the same batch of chromium carbide wear plate, HV readings can range from 600 to 1800, depending on where you test.
Hardness is a crucial metric, but it’s only one piece of the puzzle when choosing the right chromium carbide overlay wear plate. Understanding the difference between HRC and HV, and how to interpret them correctly, ensures more accurate performance expectations and better application decisions.
If you’re unsure which hardness specification suits your working conditions, talk to our team—we can provide detailed testing data and application-based recommendations tailored to your wear challenges.
Post time: Jul-25-2025
